Hi all!
Currently, all of the snippets to generate a waiting screen while the data is being processed in make or in an Airtable automation relied on a static duration (setTimeout).
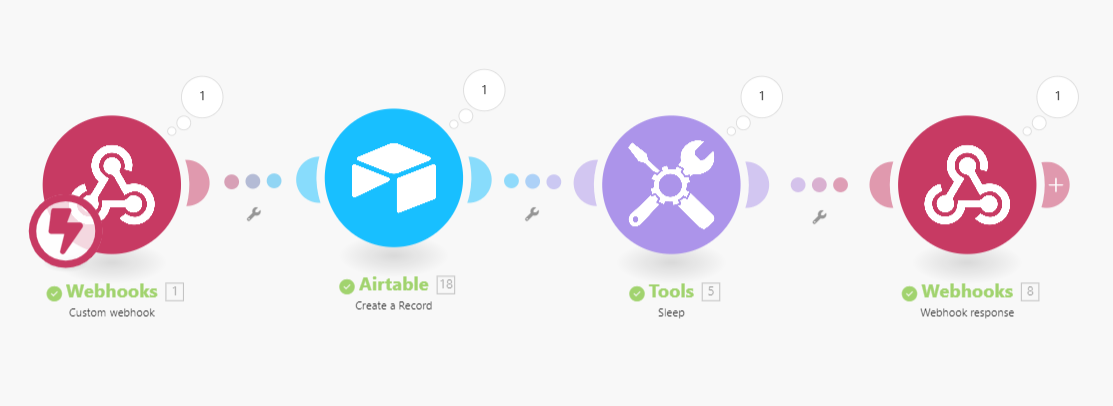
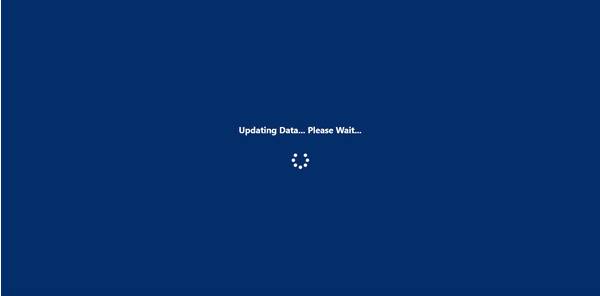
The following code allows to display a waiting screen with a dynamic duration. It means that the waiting screen will only last the exact time of the data process in Make or elsewhere.
Few words about my current setup (you can check it in the Gif below, to be more visual).
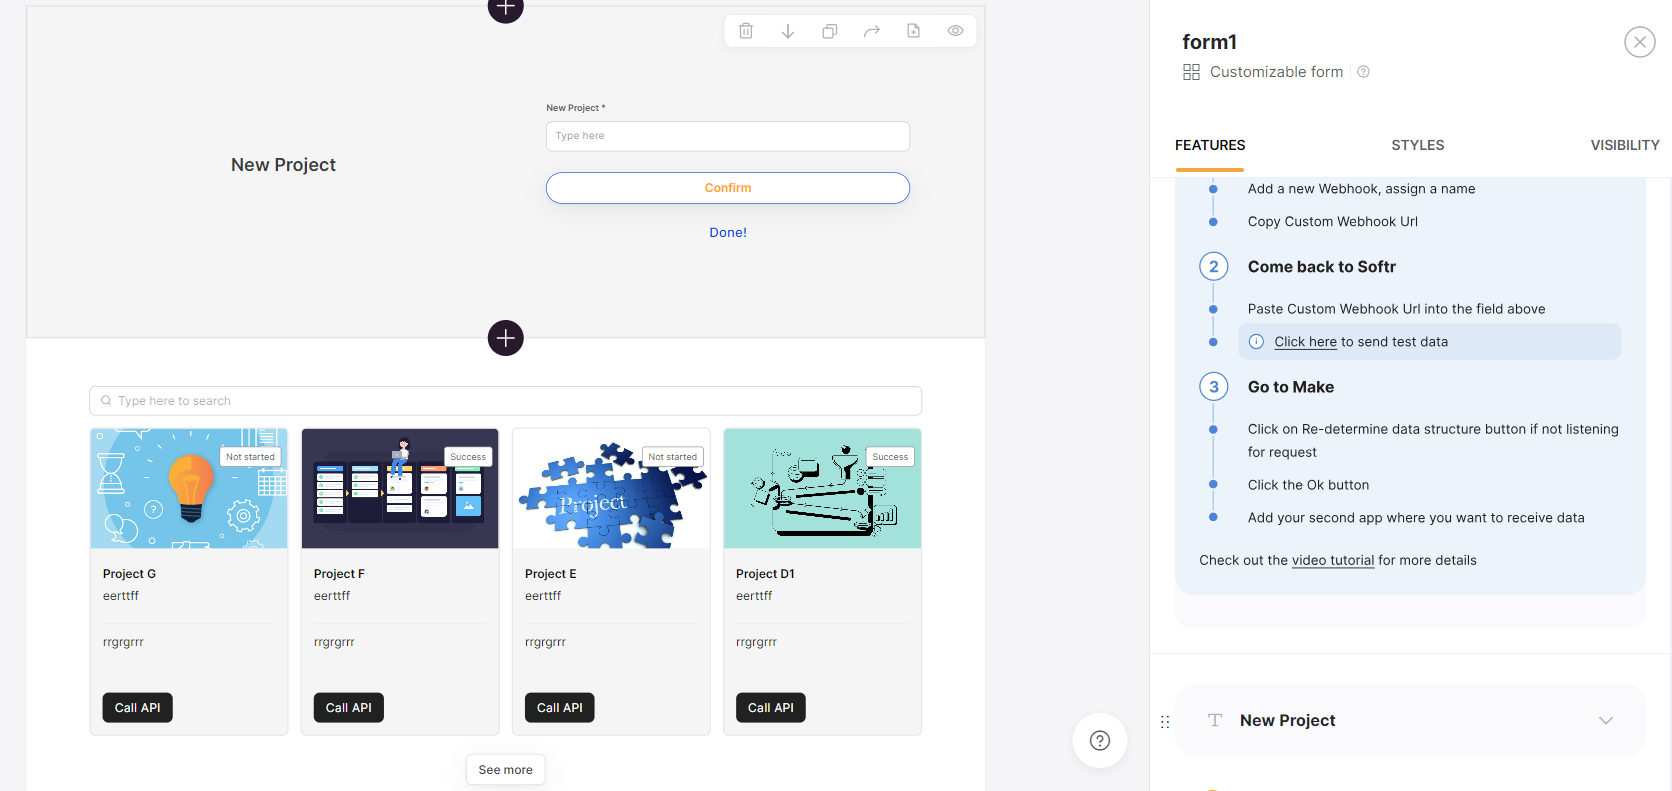
- A list details block to catch the right recordId
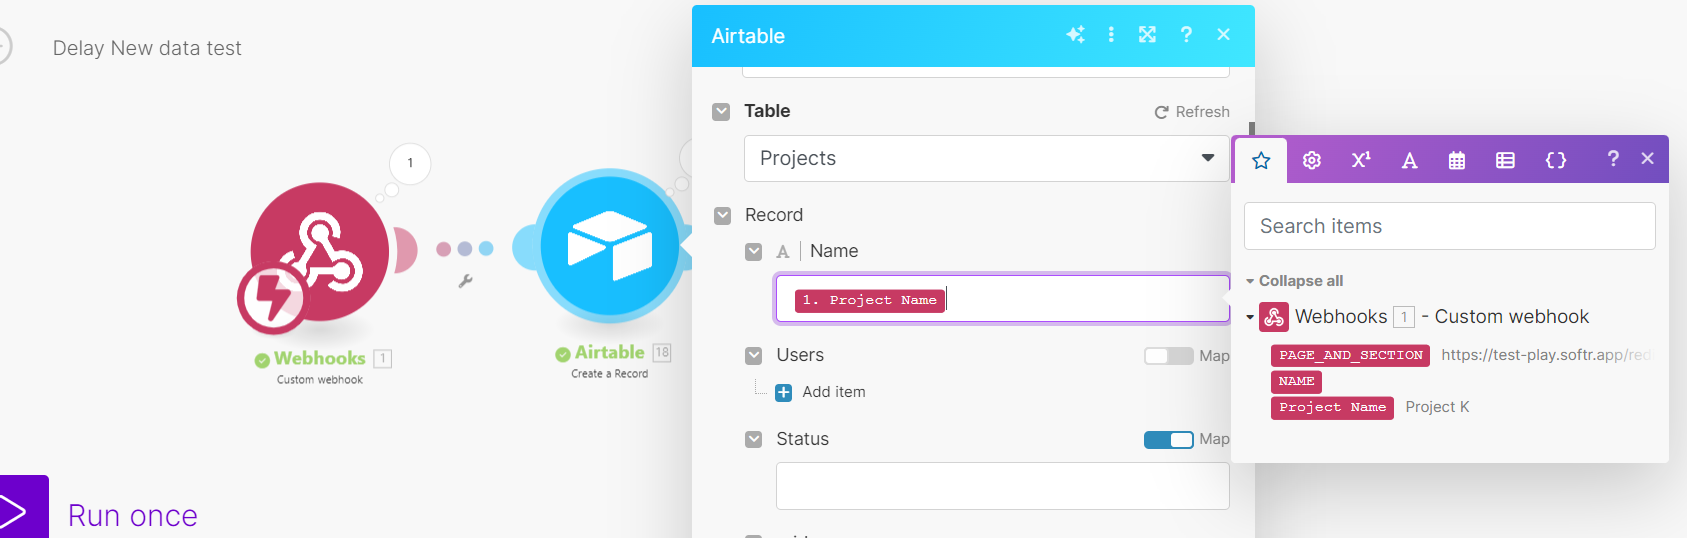
- A form block to send the record of the list-details block to Make.
- A list block gathering different records including the one in the list-details block
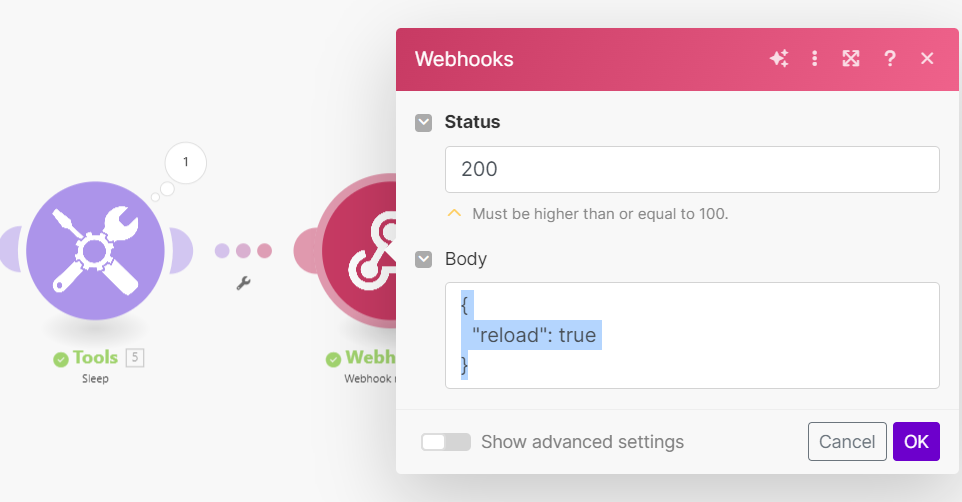
The code relies on a mutation observer. Another version might be released in the next few weeks so the code relies on a data flag.
Here is the full code, to be inserted in the custom code header of the page settings:
<link rel="stylesheet" href="https://cdnjs.cloudflare.com/ajax/libs/font-awesome/5.15.4/css/all.min.css">
<style>
#loading-screen {
display: none;
position: fixed;
top: 0;
left: 0;
width: 100%;
height: 100%;
background-color: #4893eb;
z-index: 9999;
}
#loading-screen .loading-content {
position: absolute;
top: 50%;
left: 50%;
transform: translate(-50%, -50%);
color: #fff;
text-align: center;
font-size: 20px;
font-weight: bold;
}
#loading-screen .loading-spinner {
font-size: 40px;
margin-top: 20px;
}
</style>
<script>
window.addEventListener('block-loaded-list2', () => {
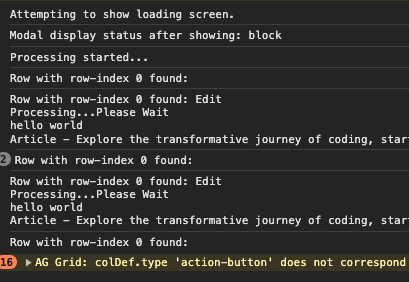
console.log('Block loaded');
});
const showLoadingScreen = () => {
document.getElementById('loading-screen').style.display = 'block';
};
const hideLoadingScreen = () => {
document.getElementById('loading-screen').style.display = 'none';
};
const dispatchReloadBlockListDetailsEvent = () => {
window.dispatchEvent(new CustomEvent('reload-block-list-details1'));
};
let observer;
let reloadInterval;
window.addEventListener('submit-form-success-form1', () => {
showLoadingScreen();
const targetElements = document.querySelectorAll('#list2 h3');
const config = { childList: true };
const callback = function (mutationsList, observer) {
for (const mutation of mutationsList) {
if (mutation.type === 'childList') {
console.log('Child elements have changed');
hideLoadingScreen();
dispatchReloadBlockListDetailsEvent();
clearInterval(reloadInterval);
observer.disconnect();
}
}
};
targetElements.forEach(targetElement => {
observer = new MutationObserver(callback);
observer.observe(targetElement, config);
});
reloadInterval = setInterval(() => {
window.dispatchEvent(new CustomEvent('reload-block-list2'));
}, 4000);
});
const onRecords = (e) => {
console.log(e.detail);
};
</script>
Place this in the footer code of the page settings:
<div id="loading-screen">
  <div class="loading-content">
    <p>Your xxxxx is being created. Patience...</p>
    <i class="fas fa-spinner fa-spin loading-spinner"></i>
  </div>
</div>
How to adapt the script to your use case?
- You can customize the waiting screen as you wish, obviously.
- update
submit-form-success-form1by changing form1 to the ID:Name of your form block. - Same for
reload-block-list2andreload-block-list-details1 - You will absolutely need to adapt this line:
const targetElements = document.querySelectorAll('#list2 h3');
#list2 h3 is the selector checked by the mutation observer (targetElement)
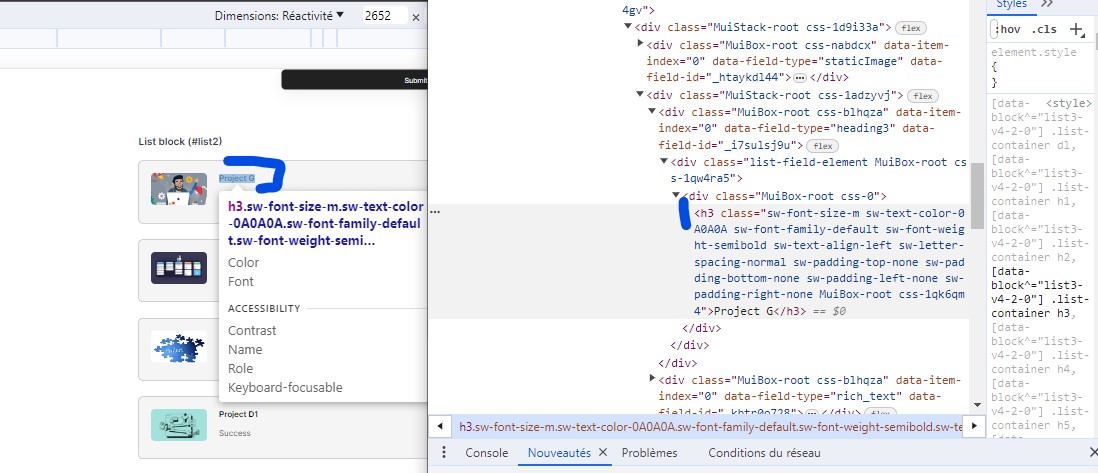
How did I get this precise selector? It’s simple: open the dev tool/inspector of your browser and point to the element that should change when the data is finally updated. In my use case I chose the text element for the title of the list block items (Project A, Project B, Project C, etc.).
Once you selected it in your dev tool, just check what is the type of the selector. Here in my use case it’s a h3. You don’t need to use the class (unless you need your mutation observer to point to a more precise selector).
I insert a screenshot of my dev tool (in french but you will get it) below.
Screenshot of my browser dev tool: